
How To Use a Mortar Gun?
4th Oct 2024
Applying mortar accurately can be challenging without the right tools. A mortar grouting gun simplifies this task by providing precise control and even distribution, making it ideal for both small and large-scale projects.
Using a mortar grouting gun ensures that every application is smooth and consistent, perfect for tiling jobs and masonry repairs. This tool is efficient, minimizes waste, and keeps your work area cleaner.
In this blog, we'll cover the steps for using a mortar grouting gun effectively. We'll discuss how to prepare the mortar, operate the gun, and clean it afterward, ensuring you can tackle your project with confidence and ease.
Let’s get started!
Types of Mortar Gun
Choosing the right mortar grouting gun is crucial for achieving the best results in any construction or home improvement project. Different types of mortar guns cater to various needs, from small repairs to large-scale construction.
Here's a look at the three main types of mortar guns: manual, pneumatic, and electric, each with unique benefits.
1. Manual Mortar Guns
Manual mortar grouting guns are operated by hand, making them a popular choice for smaller, do-it-yourself projects. Simply load the mortar into the barrel and use the trigger to push it through the nozzle. Ideal for tiling, repairs, and filling cracks, they offer excellent control without needing a power source.
2. Pneumatic Mortar Guns
Pneumatic mortar grouting guns, powered by compressed air, are ideal for large-scale construction tasks. They deliver a high volume of mortar with consistent flow, essential for extensive masonry or continuous applications. While setup is more complex due to the air compressor, their efficiency and speed enhance large projects.
3- Electric Mortar Guns
Electric mortar grouting guns provide consistent output and ease of use, bridging the gap between manual and pneumatic options. With adjustable speeds, they allow for precise control over mortar flow, making them ideal for tasks requiring detailed application. These tools are especially useful when working with different types of mortar, ensuring a smooth and even finish.
Components of a Mortar Gun

A mortar grouting gun comprises several key components, each integral to its function and efficiency. Here’s a concise overview of the main parts:
1. Barrel or Tube
The barrel holds the mortar mix; it's cylindrical and made from durable materials like metal. Its capacity affects how often you need to refill during projects.
2. Nozzle
Attached to the barrel's end, nozzles control the mortar's discharge and vary in shape for different applications, such as flat or pointed tips for specific joint work.
3. Trigger Mechanism
This controls the flow of mortar; pulling the trigger activates a mechanical plunger or an electric pump that drives the mortar out.
4. Plunger or Pusher
In manual guns, this rod forces mortar through the nozzle when triggered. In pneumatic and electric models, this might be a more complex piston or pump.
5. Air Compressor Connection (Pneumatic Guns)
For pneumatic guns, this hose attachment connects to an air compressor, which powers the mortar expulsion.
6. Power Source (Electric Guns)
Electric guns are powered either by a cord to an outlet or a battery pack, driving the internal mechanisms that propel the mortar.
7. Handle and Housing
Designed for ergonomic use and durability, the handle reduces user fatigue, and the housing protects internal components and facilitates maintenance.
How To Use Mortar Gun?
Step 1: Load the Mortar Gun
Open the barrel of your mortar grouting gun and fill it with the prepared mortar, pressing lightly to compact and avoid air pockets. This ensures a steady, uninterrupted flow during application. Avoid overfilling to maintain ease of operation and prevent potential jams.
As you load the mortar, ensure that it is uniformly mixed to prevent any inconsistencies in texture, which can affect the flow through the nozzle. Check the consistency once more before sealing the barrel to ensure it’s optimal for use.
Step 2: Attach the Nozzle
Select a nozzle that suits the size and type of joints you are working on. For detailed mortar gun pointing, a narrower nozzle would be appropriate to achieve precise application. Attach it securely to prevent any mortar leakage during use.
Inspect the nozzle attachment for any signs of wear or damage before beginning your project. A well-maintained nozzle ensures accurate and efficient mortar placement, critical for professional results.
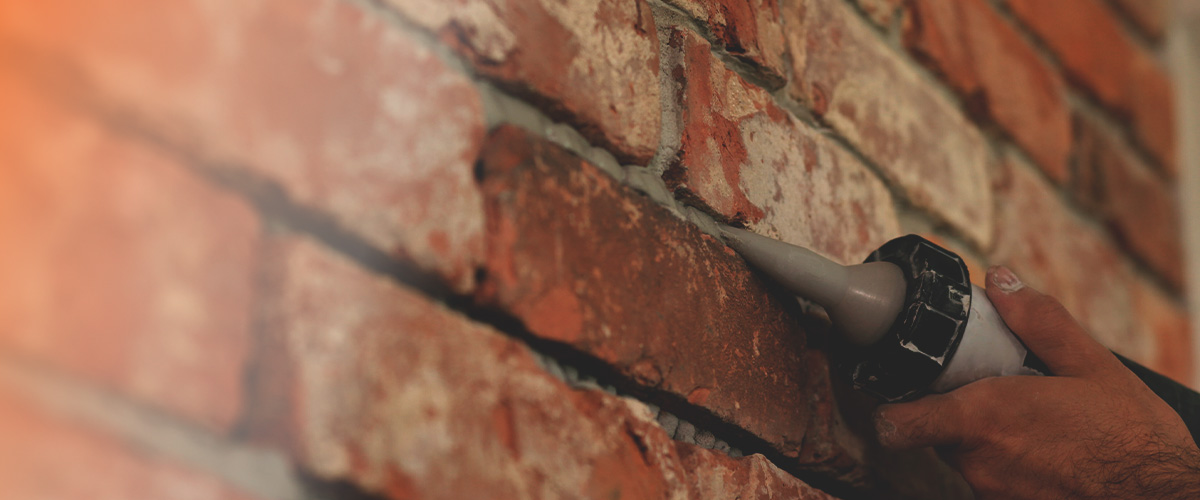
Step 3: Apply the Mortar
Position the nozzle at the start of the joint and press the trigger gently, moving along the joint at a consistent pace. This technique helps lay down an even line of mortar essential for strong joints. Maintain even pressure to avoid variable mortar thickness along the joint.
Adjust the speed of your application depending on the working conditions and the drying time of the mortar. Faster application may be necessary outdoors or in dry conditions to prevent the mortar from setting too quickly.
Step 4: Smooth the Mortar
Immediately after application, use a trowel or jointer to smooth the mortar into the joints. This not only improves the visual finish but also ensures the mortar is well-bonded to the masonry. Smooth out any excess mortar to keep the surface clean and uniform.
Act quickly as the mortar starts to set, shaping it to the desired profile before it hardens fully. Timely shaping is essential for achieving a polished and durable finish.
Step 5: Clean the Mortar Gun
After finishing the application, dismantle the mortar gun and clean each component thoroughly. This prevents mortar from setting inside the gun, which can lead to malfunctions or difficult cleanups later. Use the appropriate solvents for cleaning if the mortar is not water-soluble.
Focus on the nozzle and inner barrel, where mortar residues are most likely to accumulate. Proper cleaning of these areas ensures the longevity and reliability of your mortar grouting gun.
Step 6: Reassemble and Store
Once all parts are clean and dry, reassemble the mortar gun. Storing the gun in a dry, secure place protects it from environmental damage and keeps it ready for the next use. Ensure that all components are correctly aligned and tightened during assembly to avoid any operational issues next time.
Regular maintenance and proper storage will extend the life of your mortar grouting gun, ensuring that it remains a dependable tool in your construction toolkit.
Mortar Grouting Gun Maintenance Tips
Proper maintenance of a mortar grouting gun is essential to ensure its longevity and efficiency, especially when used for mortar gun pointing. Here are three focused maintenance tips incorporating your specified keywords:
1. Lubricate Moving Parts
To maintain the smooth operation of your mortar gun, regularly lubricate its moving parts. This includes the trigger mechanism and any internal gears. Use a suitable lubricant that is compatible with the gun’s materials to prevent corrosion and wear.
2. Inspect for Wear and Tear
Frequent inspections are crucial, especially when the gun is used extensively for mortar gun pointing. Check components like the barrel, nozzle, and plunger for any signs of damage or excessive wear. Early detection of issues can prevent them from escalating into costly repairs.
3. Store Properly
Proper storage of your mortar grouting gun is vital to prevent environmental damage. After cleaning and assembly, store the gun in a dry, cool place. Ensure the storage area is free of damp conditions that could promote rust and degrade the gun’s components.
Shop Best Mortar Guns With JB Tool
At JB Tools, we offer a wide selection of
high-quality mortar guns perfect for both DIY enthusiasts and professionals. Our lineup includes the acclaimed Quikpoint mortar gun, known for its durability and performance, ideal for precise mortar gun pointing tasks. Each tool is carefully selected to meet our high standards, ensuring efficiency and ease of use.
With competitive pricing and expert customer service, JB Tools is your go-to source for the best in masonry tools. Our Quikpoint mortar gun is especially popular among professionals for its robust design and precision, enhancing the quality of detailed projects.